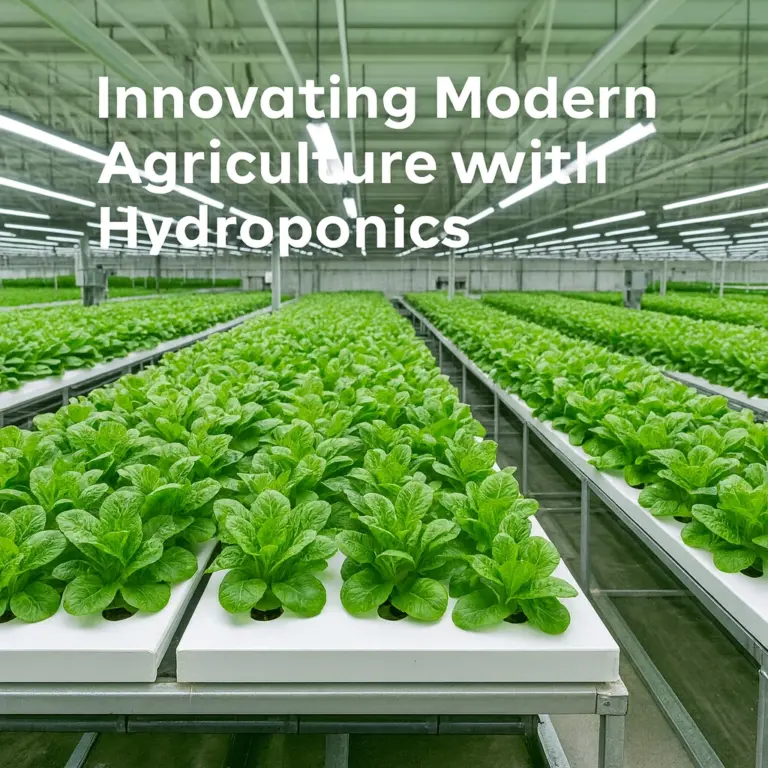
How to Grow Hydroponic Spinach: Complete Guide + Grow Card
Growing hydroponic spinach is one of the most rewarding and beginner-friendly ventures in soilless cultivation. Spinach thrives in hydroponic systems, offering faster growth, higher yields, and fewer pest problems compared to traditional soil growing. This nutritious leafy green is packed with iron, folate, and essential vitamins, making it an excellent choice for your hydroponic garden.
Why Choose Hydroponic Spinach?
Hydroponic spinach grows 30-50% faster than soil-grown varieties and produces tender, flavorful leaves with consistent quality. Since you control every aspect of the growing environment, you can harvest fresh spinach year-round, regardless of outdoor weather conditions. Plus, spinach is a “cut and come again” crop, meaning you can continuously harvest outer leaves while the center keeps producing new growth.
Seed Preparation and Germination
Pre-soaking for Faster Results
Start by soaking your spinach seeds in room temperature water for 4-8 hours before germination. This simple step can reduce germination time from 10+ days to just 5 days by softening the seed coat and jumpstarting the sprouting process.
Optimal Germination Conditions
Spinach seeds germinate best in cool conditions between 32 and 65°F. Since spinach is naturally a cool-weather crop, avoid using heating pads during germination – they’ll actually slow things down. The germination process occurs in three stages: moisture absorption, internal cell development, and visible sprout emergence.
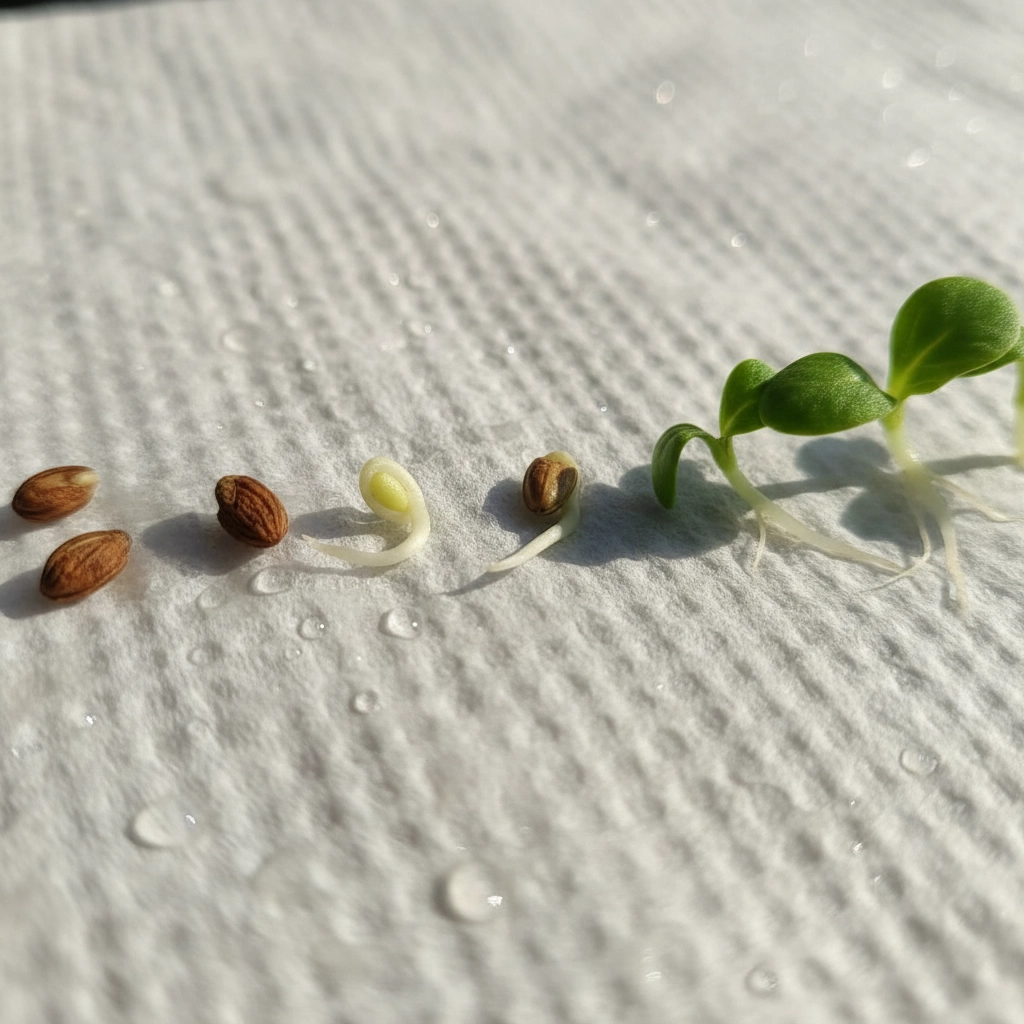
Paper Towel Method
For hydroponic systems, use the paper towel germination method rather than soil-based starting. Place your pre-soaked seeds between damp paper towels in a cool, dark location. Check daily and mist lightly if the paper towels start drying out. Once you see the first white root tips emerging (usually within 5 days), your seeds are ready for transplanting.
Transplanting Seedlings
When spinach seedlings reach approximately 2 inches tall with their first true leaves, they’re ready for transplantation into your hydroponic system. Transfer sprouted seeds into starter plugs like rock wool cubes or rapid rooter plugs that have been soaked in a mild nutrient solution (around 0.6 EC).
Hydroponic System Selection
Best System Types
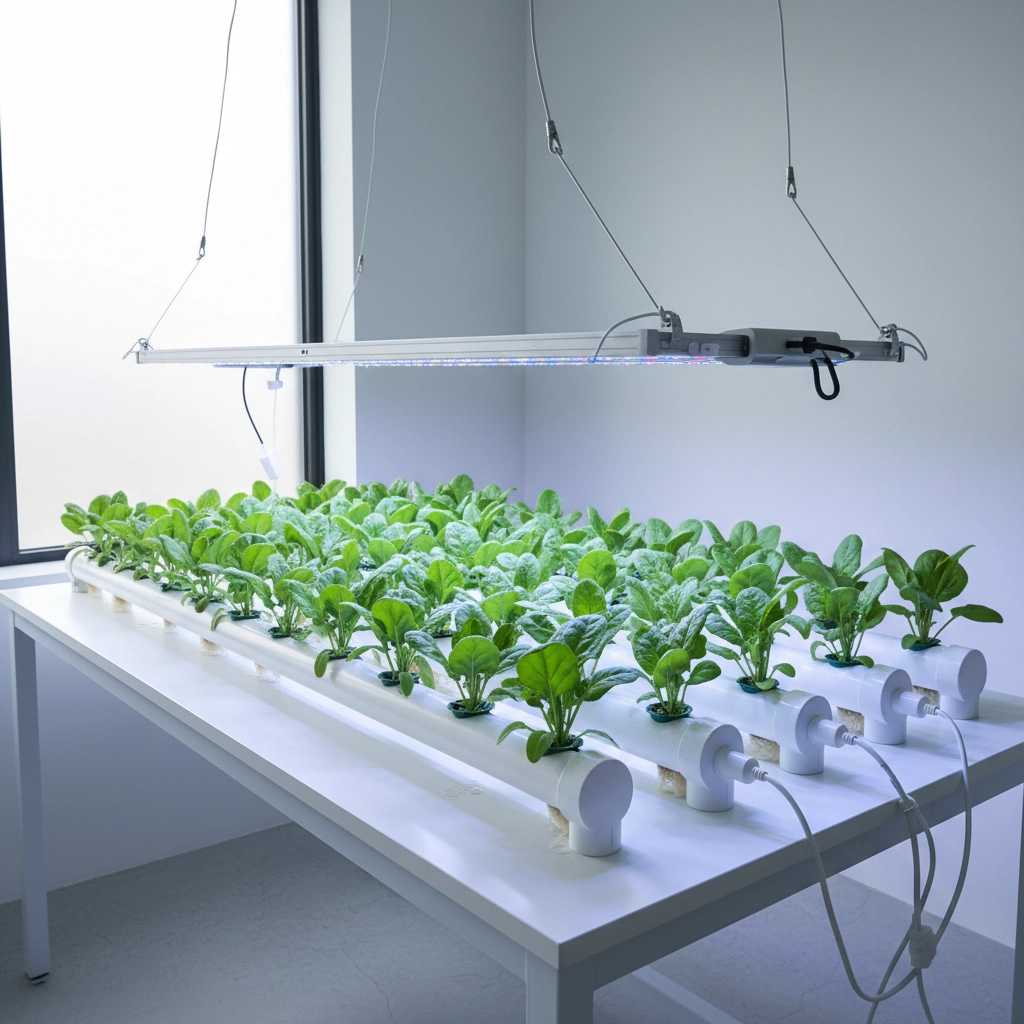
Spinach performs exceptionally well in Nutrient Film Technique (NFT) and Deep Water Culture (DWC) systems. NFT systems use a shallow tray with continuously flowing nutrient solution, providing the perfect balance of nutrients, water, and oxygen that spinach roots crave. DWC systems work great too, with plants suspended over oxygenated nutrient reservoirs.
For beginners, the Kratky Method (passive hydroponic system) offers a simple, no-electricity approach that’s perfect for small-scale spinach growing.
System Preparation
Before planting, thoroughly clean and sterilize your entire system – trays, tubing, pumps, and reservoirs – with a mild bleach solution (1 part bleach to 9 parts water). Rinse completely and allow to air dry. This prevents contamination and ensures your spinach gets the cleanest possible growing environment.
Growing Conditions and Environment
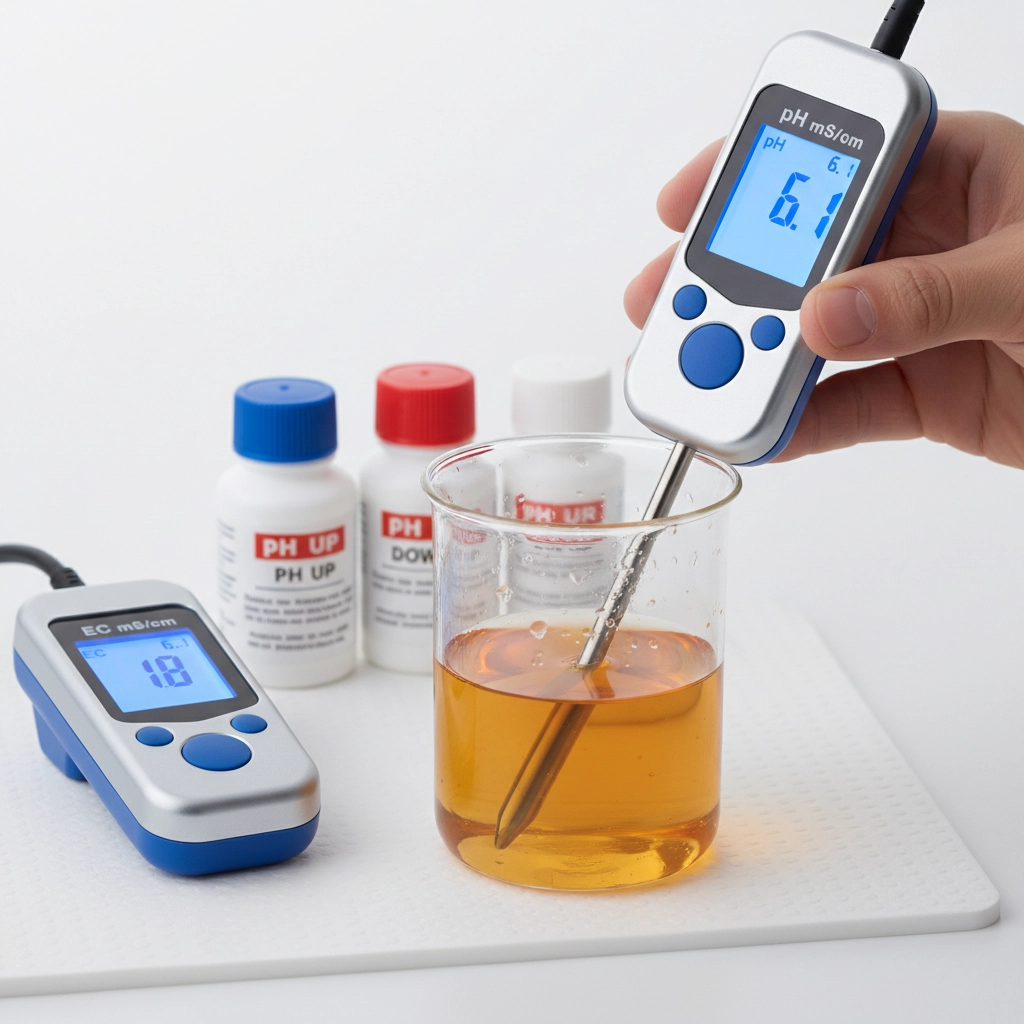
pH Management
Maintain your nutrient solution pH between 5.5 and 6.6 for optimal nutrient uptake. Spinach can tolerate a slightly wider range (5.8-7.0), but staying within the tighter range ensures maximum growth potential. Check pH daily using a digital pH meter or test strips, and adjust using pH up or down solutions as needed.
Temperature Control
Spinach thrives in cooler conditions with ideal air temperatures between 60 and 68°F (15.5-20°C). Water temperature should stay between 65-72°F. If your growing area gets too warm, spinach will bolt (go to seed prematurely) and become bitter. Consider using fans for air circulation or even a small chiller for your nutrient reservoir during hot weather.
Lighting Requirements
Provide 12 hours of light daily using LED or fluorescent grow lights. Blue light spectrum is particularly beneficial as it enhances chlorophyll production and promotes the dense, leafy growth that makes quality spinach. LED lights work great, but basic fluorescent shop lights are perfectly adequate and more budget-friendly.
Position lights 12-18 inches above your plants and adjust height as they grow to maintain consistent light intensity without burning the leaves.
Nutrient Solution
Target an Electrical Conductivity (EC) range of 1.8 to 2.3 for your nutrient solution. Use a complete hydroponic nutrient designed for leafy greens – these formulations have higher nitrogen content to promote leaf development. Change your nutrient solution completely every 1-2 weeks and top off with fresh water between changes as needed.
Ensure extra aeration in your system using air stones and pumps. Spinach benefits from well-oxygenated root zones, which prevent root rot and promote vigorous growth.
Planting and Daily Care
Spacing and Placement
Space your spinach plants 4-6 inches apart in your system. This gives each plant enough room to develop a full rosette of leaves while maximizing your growing space. Plant seeds or seedlings about 1/2 inch deep in your growing medium.
Daily Monitoring
Check your system daily for:
- Water level in reservoirs
- pH levels
- Overall plant health
- Signs of nutrient deficiency or disease
Continuous Harvesting
Spinach is perfect for continuous harvesting. Start harvesting outer leaves when plants are 6-8 weeks old and leaves are 3-4 inches long. Always harvest from the outside, leaving the center growing point intact. This allows your plants to keep producing fresh leaves for months.
For continuous production, consider starting new seeds every 2-3 weeks. This gives you a constant supply of fresh spinach at various growth stages.
Common Issues and Solutions
Bolting (Going to Seed)
If your spinach starts producing flower stalks, it’s bolting due to heat stress or long daylight hours. Remove bolted plants immediately as the leaves become bitter. Prevent bolting by maintaining cool temperatures and providing adequate ventilation.
Nutrient Deficiencies
Yellow leaves often indicate nitrogen deficiency – increase your nutrient concentration slightly. Purple leaf edges suggest phosphorus deficiency, while brown leaf tips typically mean potassium deficiency or nutrient burn from over-concentration.
Hydroponic Spinach Grow Card
| Parameter | Optimal Range |
|---|---|
| pH Level | 5.5 – 6.6 |
| EC Range | 1.8 – 2.3 |
| Air Temperature | 60 – 68°F (15.5 – 20°C) |
| Water Temperature | 65 – 72°F |
| Germination Temp | 32 – 65°F |
| Daily Light | 12 hours |
| Light Type | LED or Fluorescent (blue spectrum preferred) |
| Germination Time | 5 days (pre-soaked seeds) |
| Days to First Harvest | 30 – 45 days |
| Transplant Size | 2 inches tall |
| Seed Prep | Soak 4-8 hours before planting |
| Plant Spacing | 4-6 inches apart |
| Best Systems | NFT, DWC, Kratky Method |
| Harvest Method | Cut outer leaves, leave center growing |
Varieties to Try
Space Spinach – Compact variety perfect for small hydroponic systems
Bloomsdale Long Standing – Slow to bolt with excellent flavor
Baby Leaf Spinach – Quick-growing variety for continuous baby leaf harvests
Red Cardinal – Beautiful red-stemmed variety that adds color to your garden
Final Success Tips
Start with quality, fresh seeds from reputable suppliers. Old seeds have significantly lower germination rates and weaker plants. Choose disease-resistant varieties when possible to avoid common spinach problems like downy mildew.
Keep your growing environment clean and well-ventilated. Good air circulation prevents fungal issues and helps maintain optimal temperature and humidity levels.
Consider companion planting with other cool-season crops like lettuce or arugula to maximize your system’s productivity. These crops have similar growing requirements and can share the same nutrient solution.
With proper attention to these growing conditions and techniques, you’ll enjoy fresh, homegrown hydroponic spinach in just over a month from seeding, with continuous harvests throughout the growing season. The satisfaction of cutting fresh spinach for your salad just minutes before eating is hard to beat!
Join Our Community
Titan Hydroponics Scoop is your weekly pulse on hydroponics, fresh ideas, and community stories. From practical growing tips and grower highlights to news, inspiration, and sustainable living, we’re growing something special together—one story at a time.